Stand up paddle board evolution
I looked all over in my pictures for an image of the original surf board we built 2 years ago. It was a huge flop, and I guess I decided not to take any pictures of it. However we have been making custom drop stitch floors for years. Here is a floor replacement we made for an Achillies raft for Rockin R Rides in New Braunfels TX somewhere around 1997. We have also made a number of drop stitch floored self-bailing rafts, and one self-bailing retrofit that turned a Non Bailing rogue River Boat into the only self-bailing Rogue river boat with a drop stitch floor.

One Idea to make Stand up Paddle boards was: all we would have to do is weld or glue a piece of fabric on the top to give it kick, and that would work. It did not. The design was blocky just like a raft floor. I dropped the idea for another year.
This year (2012) we decided that we should make a presentation at the OR show. SUP boards are a big market, and we are concerned that some of them may be coming apart because they are all glued together. We know that customers put a huge amount of pressure in them. And this makes the problem worse when the Glue gets “tired”. That is why we wanted to introduce an all welded board that would not come apart just because it was getting older.
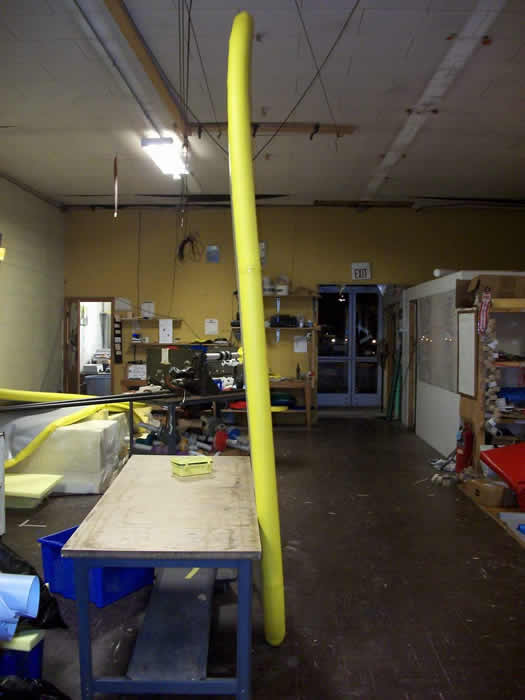
Here is the second board we made. The pointed ends did not work out very well. There is a twist in the back end. We were able to get curvature in the side wall and up kick. We were finally getting somewhere.
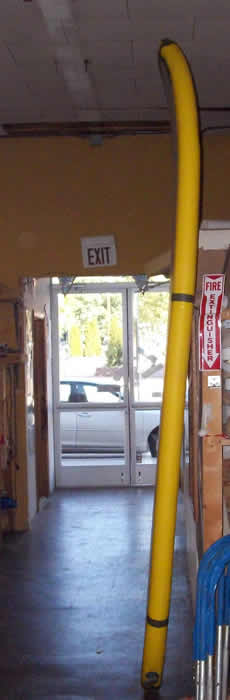
Here is the 3rd board we made, with a curved front end, but still has a twist. The twist was almost identical to the 2 ND board. We decided to give it one more try to see if we could get the twist out.
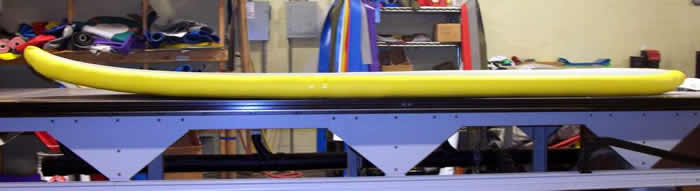
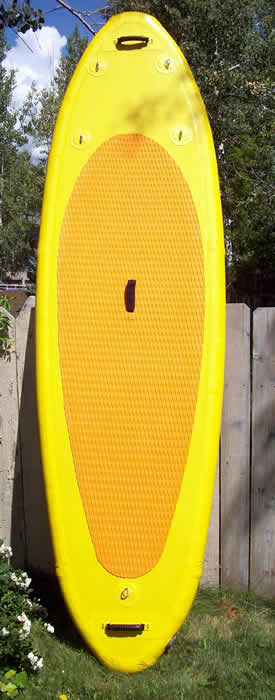
Here is the 4th board we made with a reduced rocker, and no twist, but it has extra material on the top and bottom that added significantly to the weight, and caused a camber in the bottom of the board. The extra material layer was glued on the top and the bottom. We have abandoned that idea in favor of lighter weight and less labor cost. This one was finished and taken to the OR show even though it was a bit cambered from the bottom and top glued on fabric layer.
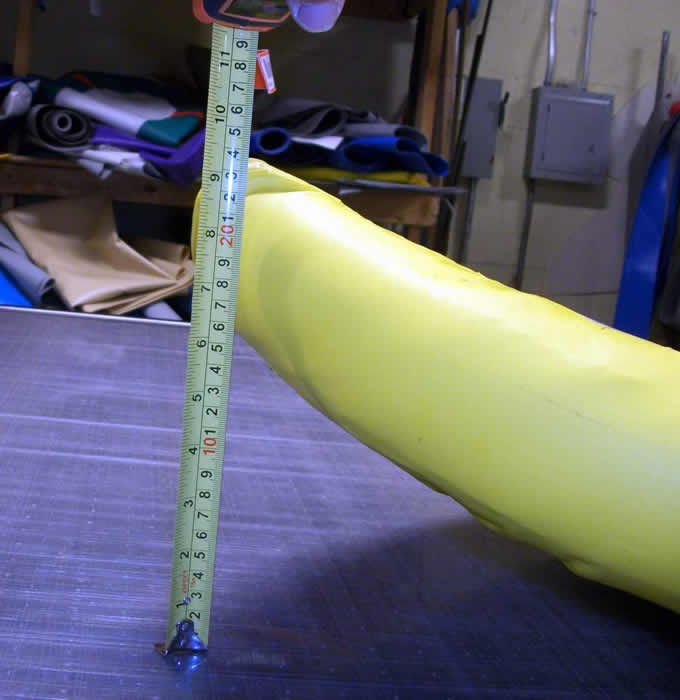
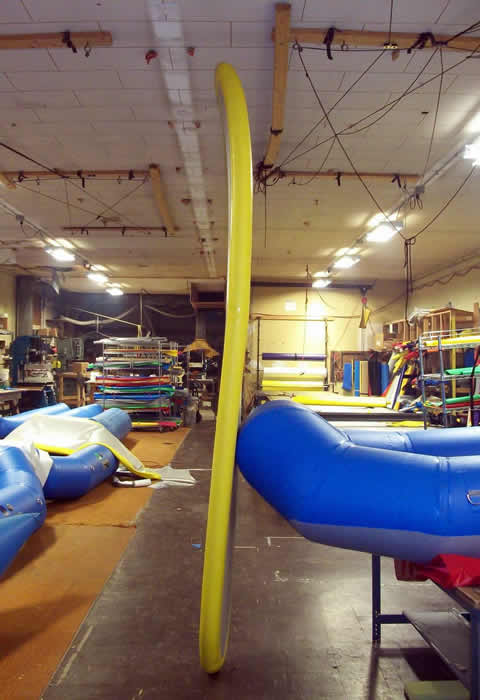
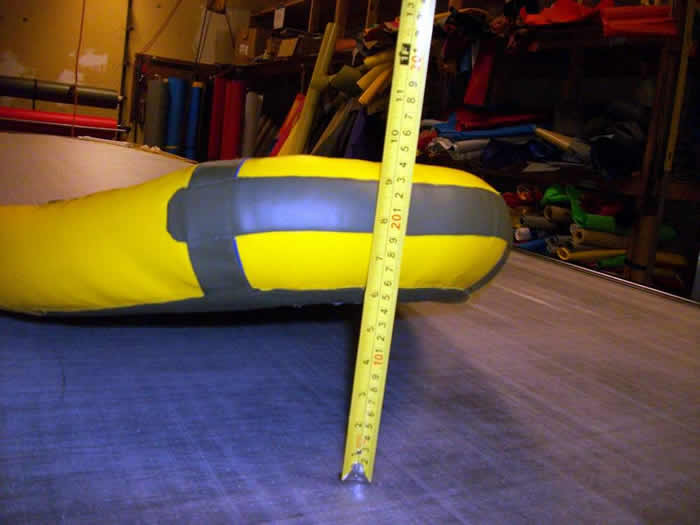
Here is a picture of the 4th board before we glued any parts on it. It has descent kick (4 inches), but it could have more, and there is no twist.
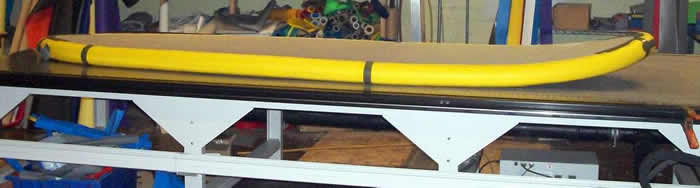
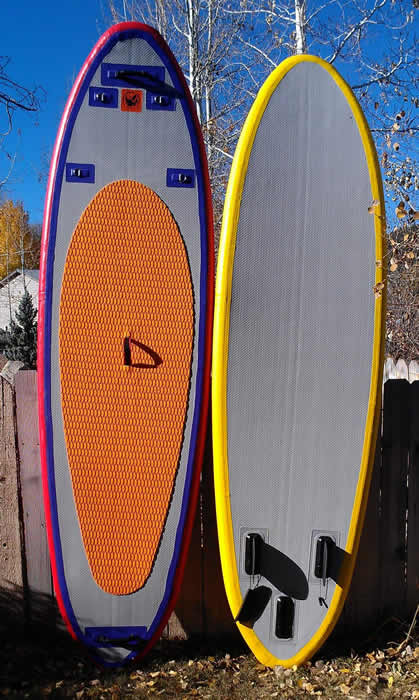
This is the 5th board we made. The patterns worked real well. At this point the drop stitch waste was getting rather costly. I decided to use the 2nd board I made to test pattern theory. So it looks a bit wonky because of the extra tape we needed to use. However the patterns worked out excellent, especially when one considers that we took off the old side wall and welded on a new one. This made it a bit difficult to line up the drop stitch properly. However, we are now confident that we can build these, and we know how the patterns work, and how to adjust them for different amounts of kick. This one has a 6 inch kick to it also. I will really enjoy this in the surf in Mexico.
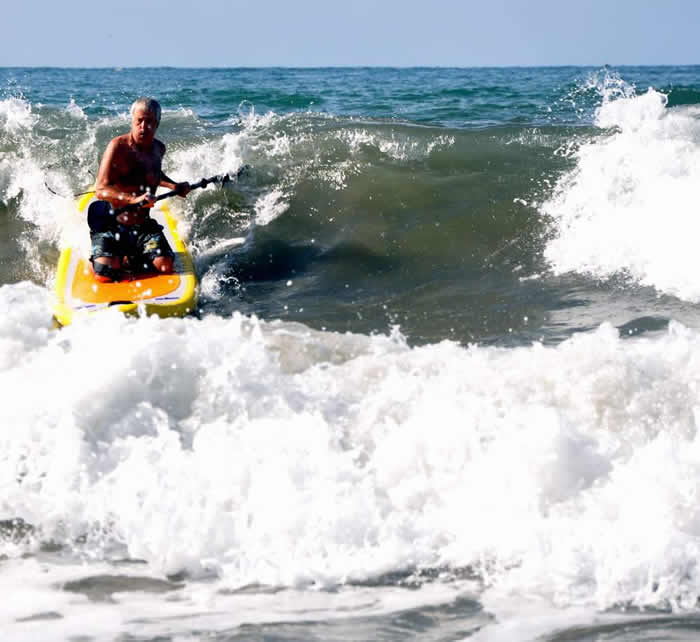
Just in case you are wondering if they work. It was a very calm day at the beach in Mexico. Some people I have shown this photo to say I should put more air in the board.

Stand up paddling is difficult in the ocean. In slightly rougher seas, I actually liked the kayak paddle for added stability.
Kneeling and surfing is easier than standing and surfing especially when you can use a kayak paddle.
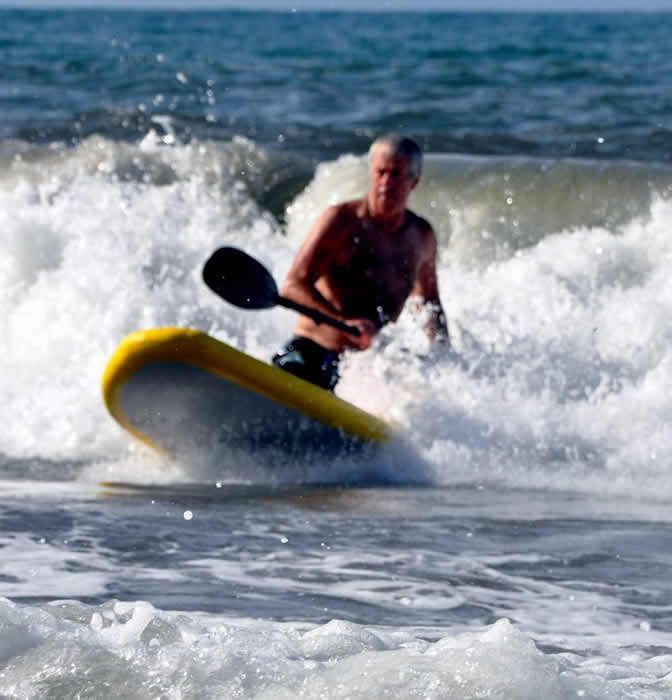
So I am able to surf just fine on my knees with a kayak paddle. Still the big ones are killing me.
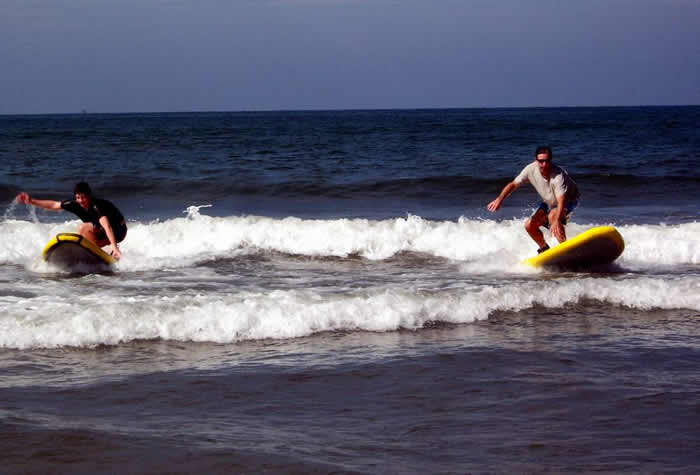
This immage shows how the Chicago Boys Jamie and Cam show us how to stand up and surf in waves.
We have lined up an order of 6 inch drop stitch, and I have just finished the patterns for that design. They will not be avaiable till March because the material needs to arrive from Korea. The 6 inch will be stiffer with less pressure, 12 of 15 instead of 20. One can get there with a top off pump easier.
At the same time I was testing the boards out in Mexico, I was talking to a number of people about them via email. some folks say that they like to operate their boards at about 20 psi. Out destruction tests of welded drop stitch indicated that the board would explode at somewhere over 50 psi. It is an explosion too. So if you are running those high pressures, watch out for sharp things in the river that can cause the explosion. Personally I think 20 psi should be the max. At the same time it is difficult to get to those pressures with the pumps that we have. I used a top off pump with an elbow. The math indicated that to get 20 psi, I would need to exert 67 lbs of force on the 2 inch diameter piston. That was hard to do. So I came up with this idea. Use the top off pump for the majority of inflation, then when you can not get any more in, use a bicycle pump with this configuration.
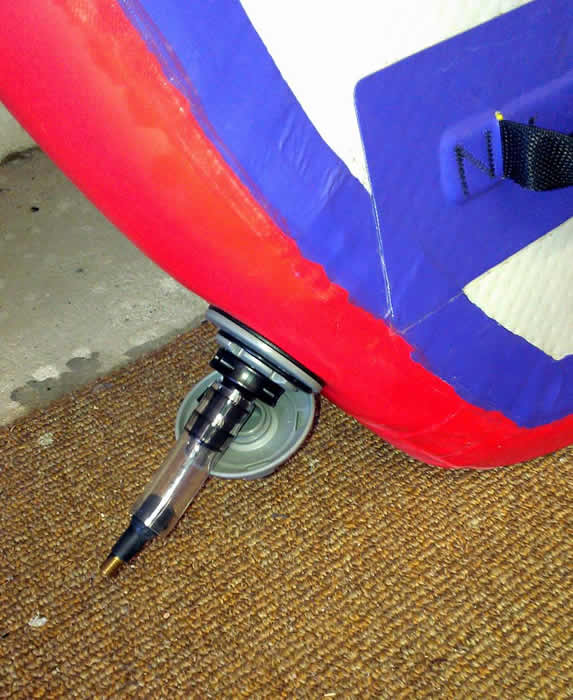
This is a C7 valve adaptor with a 1/2 inch hose and a standard schrade valve (tire valve) glued inside the tubing.
Be carefull, do not inflate past 20 psi. My bicycle pump has an air gauge that measures the pressure as it goes in. The valve is a check valve and the only way I can measure the pressure is when the pump is putting air into the system. Later I will try to figure out how to hold the check valve open so the pressure can be checked with a standard tire gauge (preferably a didgital readout) Also remember that these gauges can vary wildly, and you may wish to test your gauge before doing something that is this technical.
Go to this link if you are interested in learning more about Inflatable SUP Repairs
Jack
home | products | pictures & information | find a dealer | river stories & testimonials | related info | FAQ | contact us
Order inquiries: shop.jpwinc@gmail.com
Custom & Prototype inquiries: pschoser.jpwinc@gmail.com
© 2011 Jack's Plastic Welding, Inc
Toll Free 1-800-742-1904
P. 505-334-8748, F. 505-334-1901